
How to Tie Dye Using Tie Dye Kits
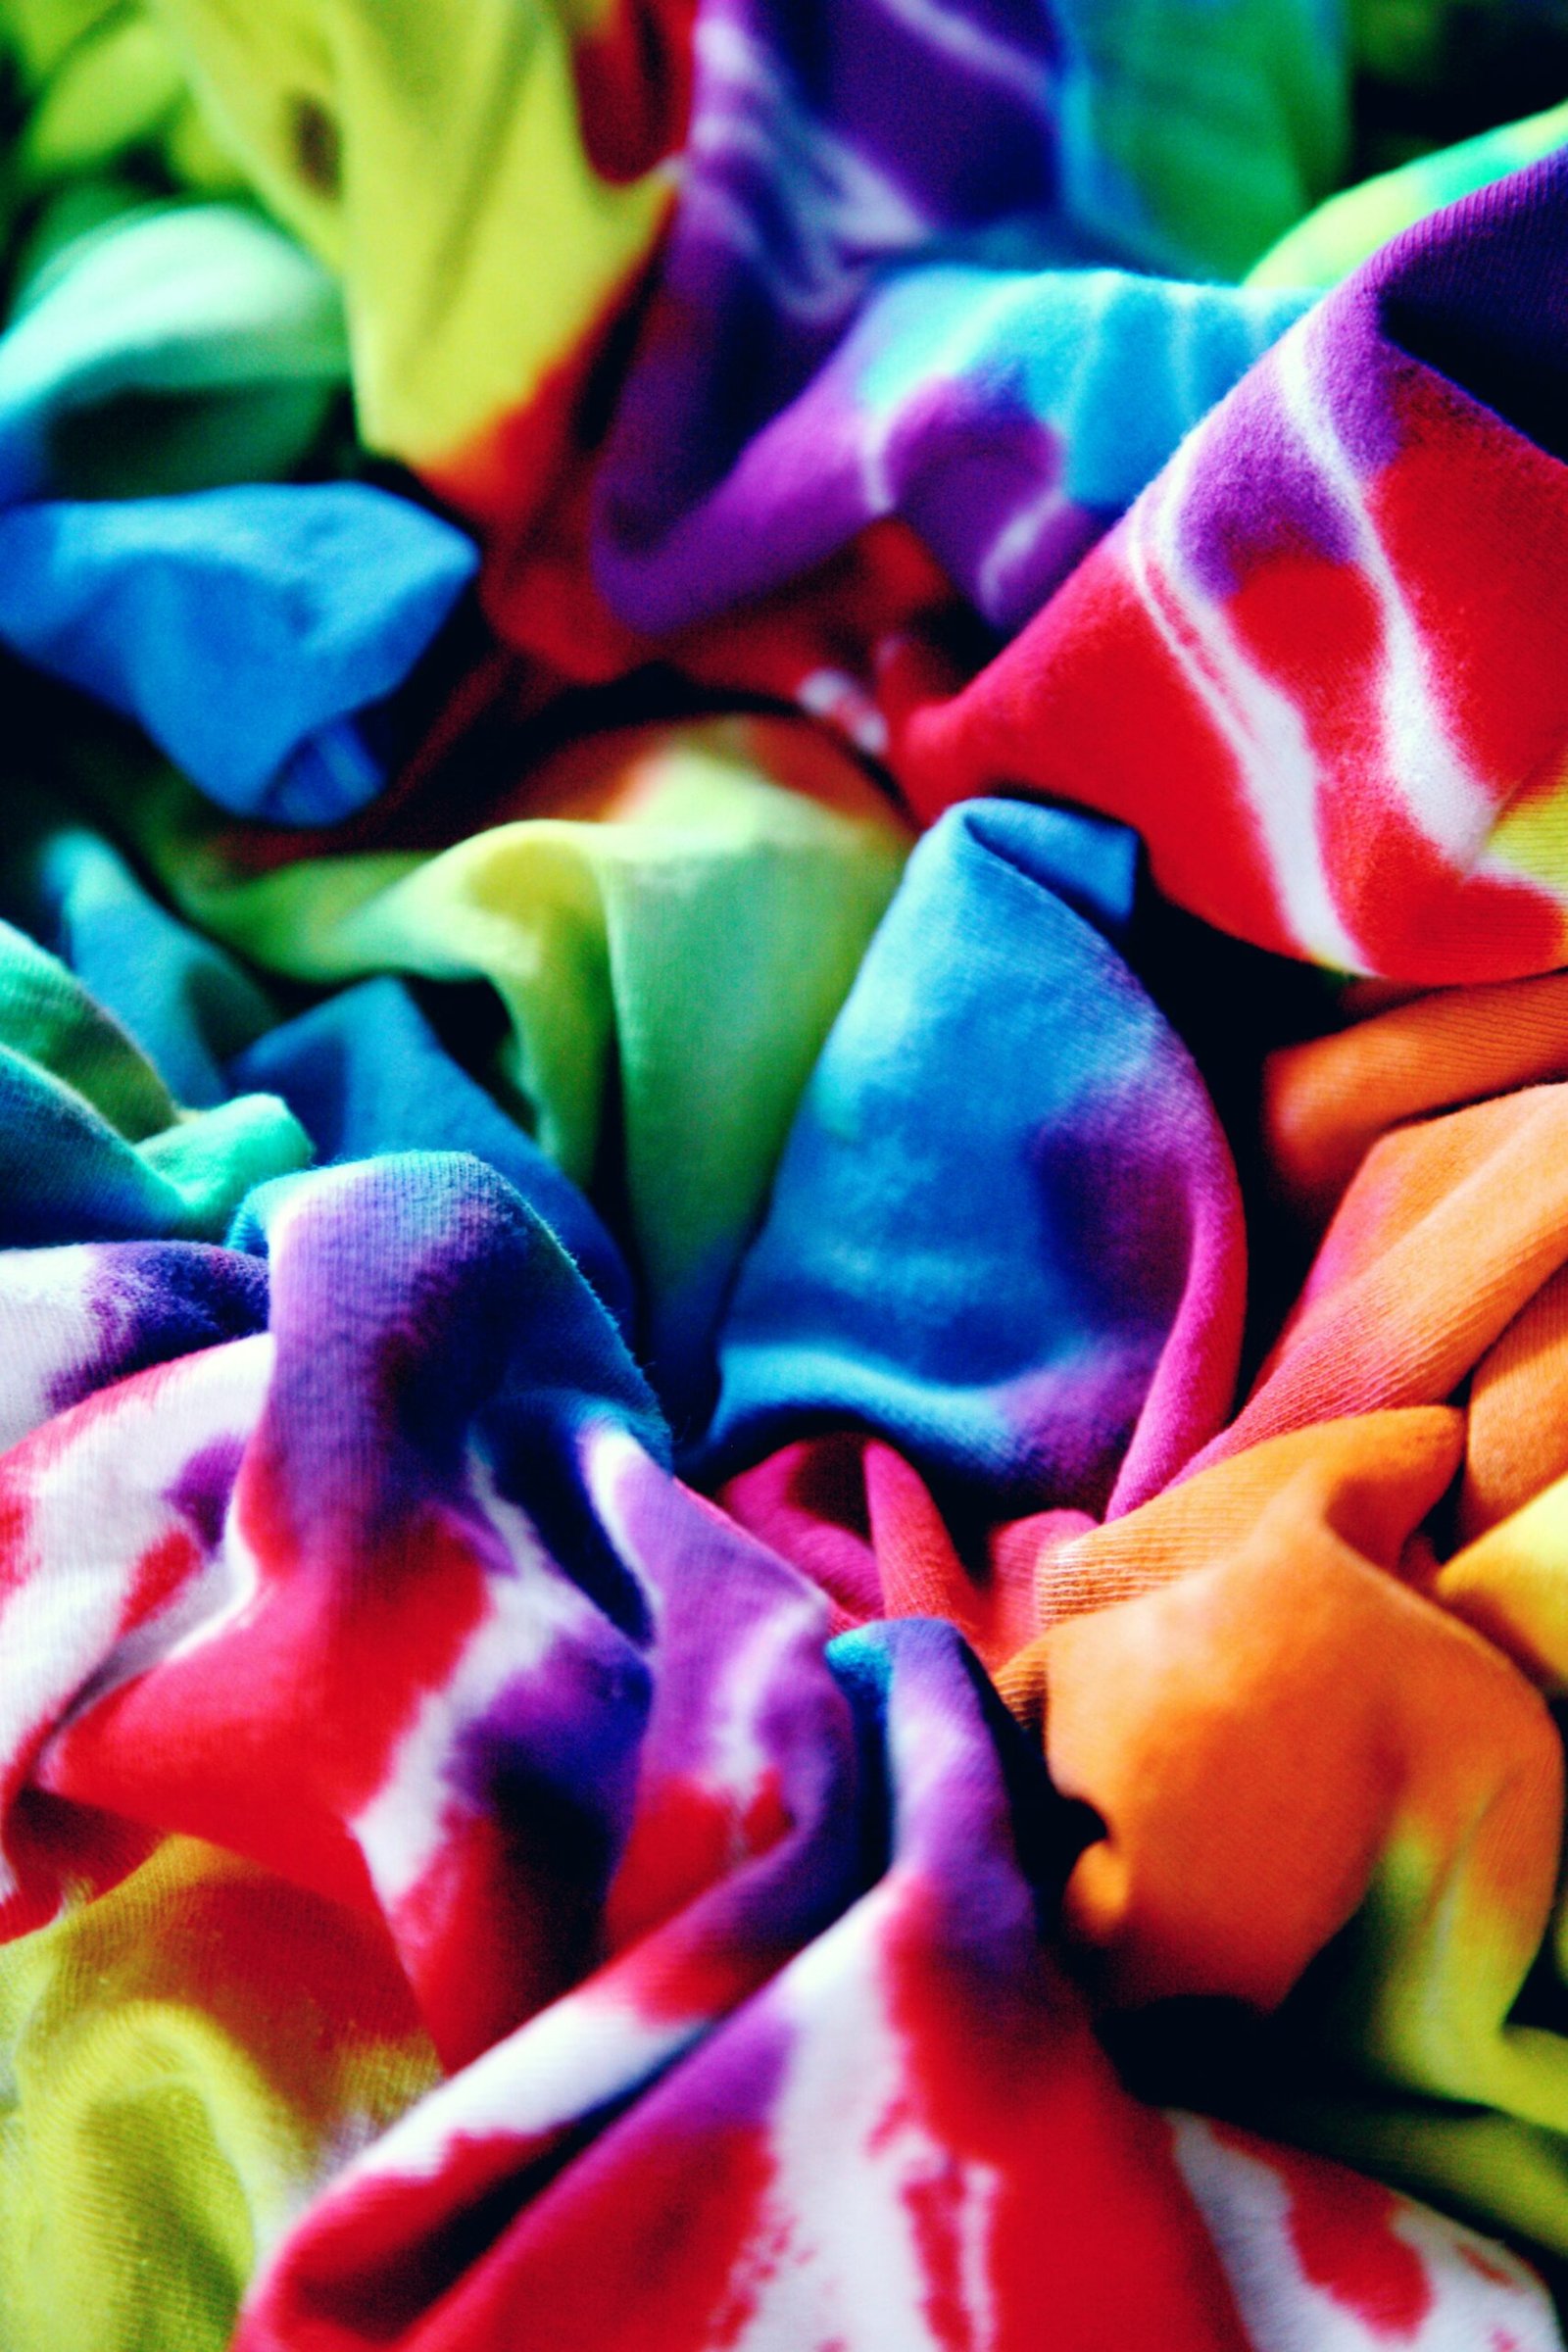
Tie dyeing has become a popular way to create unique and colorful designs on fabric. With the help of tie dye kits, you can easily create your own wearable art. Here is a step-by-step guide on how to tie dye using tie dye kits:
1. Prepare the Fabric
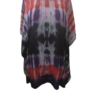
Start by selecting the fabric you want to dye. It can be a t-shirt, a pair of socks, or any other cotton or natural fiber material. Pre-wash the fabric to remove any dirt or chemicals that might interfere with the dyeing process.
2. Mix the Dye
Follow the instructions on the tie dye kit to mix the dye. Most kits come with powdered dye that needs to be mixed with water. Make sure to wear gloves and protect your work surface to avoid any stains.
3. Create the Design
There are various techniques you can use to create different tie dye patterns. Some popular ones include crumpling, folding, twisting, or using rubber bands to create sections. Experiment with different techniques to achieve the desired effect.
4. Apply the Dye
Using squeeze bottles or brushes, apply the dye to the fabric. Make sure to saturate the fabric completely, covering all the desired areas. You can use different colors to create a vibrant and colorful design.
5. Let it Set
Once you have applied the dye, let the fabric sit for the recommended time mentioned in the tie dye kit instructions. This will allow the dye to penetrate the fabric and create a lasting color.
6. Rinse and Wash
After the dye has set, rinse the fabric under cold water to remove any excess dye. Continue rinsing until the water runs clear. Finally, wash the fabric separately in cold water using a mild detergent to remove any remaining dye.
Tie dyeing using tie dye kits is a fun and creative way to express yourself through color. With a little practice and experimentation, you can create your own unique wearable art and wear your color with pride.


Leave a Reply